Sellio Blog · 6 min read
How to set up a thermal receipt printer with an Android tablet
Step-by-step setup of a 58mm or 80mm thermal receipt printer on an Android tablet for a shop till — USB cable, paper, browser permission, test print and fixes.
Published · By Sellio
Setting up a thermal receipt printer with an Android tablet takes about ten minutes: plug the printer into power and paper, connect it to the tablet with a USB cable and an adapter, give the browser permission to use it once, choose the paper width in your POS, and print a test receipt. This guide covers the parts that go wrong, because the printer itself almost never does.
What you need
- A thermal receipt printer that supports ESC/POS, which is nearly all of them. 58mm or 80mm, see below.
- Thermal paper rolls of the matching width. Buy a box; a single roll is gone in a busy week.
- A USB cable for the printer, usually USB-B (the square one) to USB-A.
- A USB adapter for the tablet: USB-C to USB-A on most recent tablets, micro-USB OTG on older ones.
- An Android tablet with Chrome. Any tablet from the last five years is fine. The bigger the screen, the fewer mistaps at the till.
- A stand for the tablet, so the screen faces the cashier and the printer sits beside it.
58mm or 80mm
| 58mm | 80mm | |
|---|---|---|
| Paper cost | Lower | Higher |
| Printer size | Small, fits a tight counter | Larger footprint |
| Receipt width | Narrow, short item names | Room for a logo, long names, a QR code |
| Best for | Shops, salons, pharmacies, stalls | Supermarkets, bars, restaurants, wholesale |
If you are unsure, choose 58mm. It does everything a receipt needs to do, and the paper is easier to find upcountry.
Step 1: Paper first
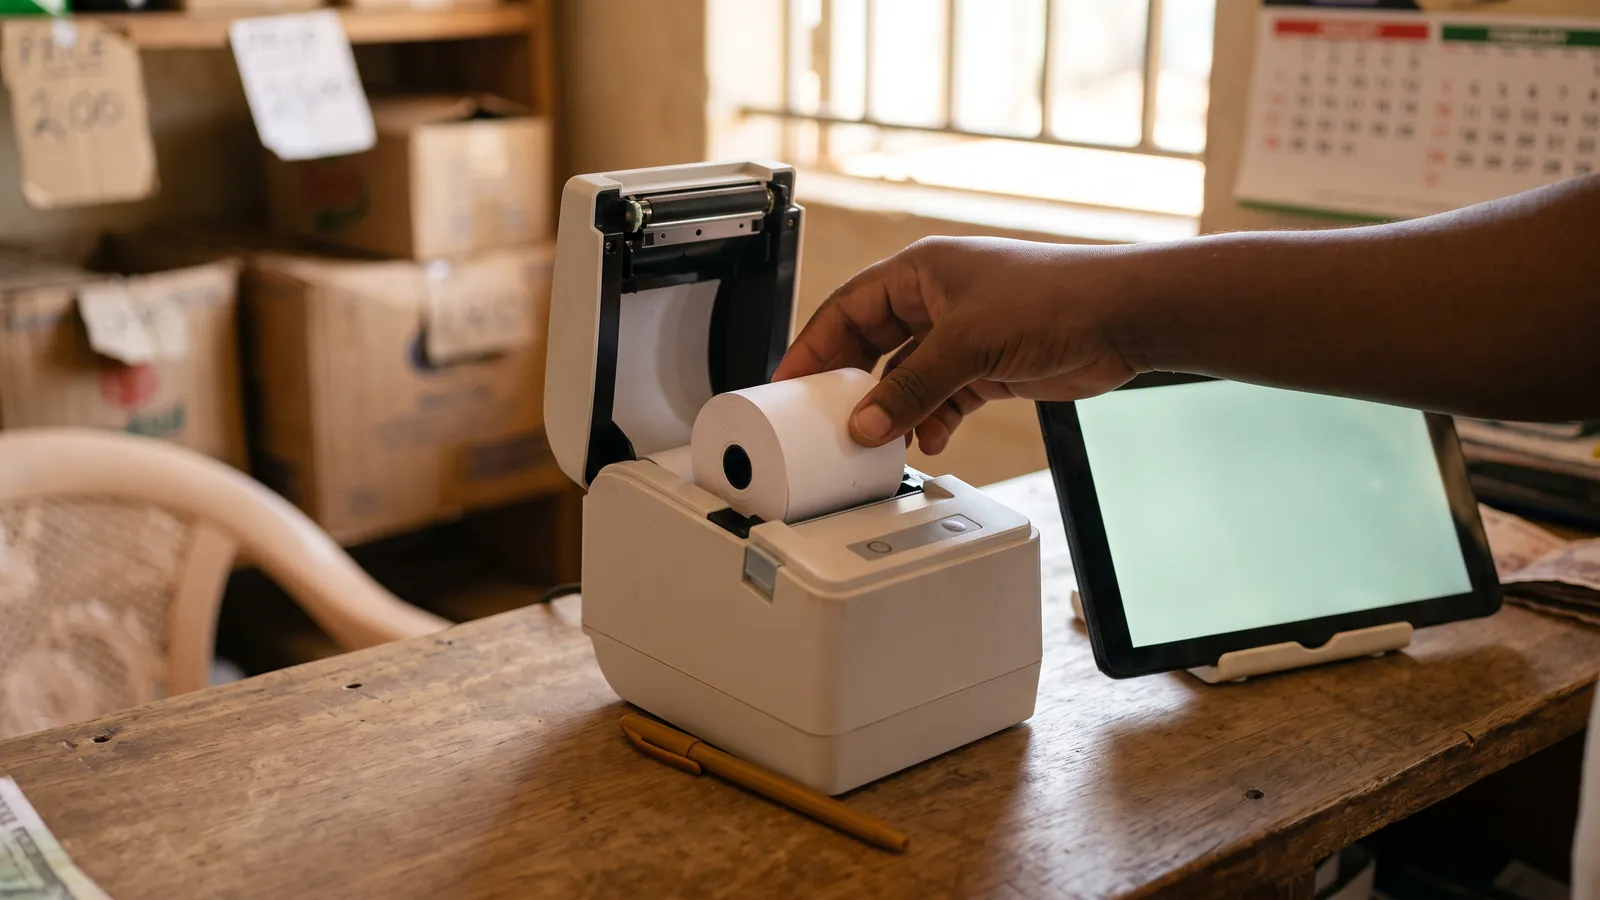
Open the lid, drop the roll in so the paper comes off the bottom of the roll and out of the front, and close the lid on the paper's loose end. Press the feed button. If a blank strip comes out, the roll is upside down. Thermal paper prints on one side only and there is no ink to run out.
Step 2: Power and cable
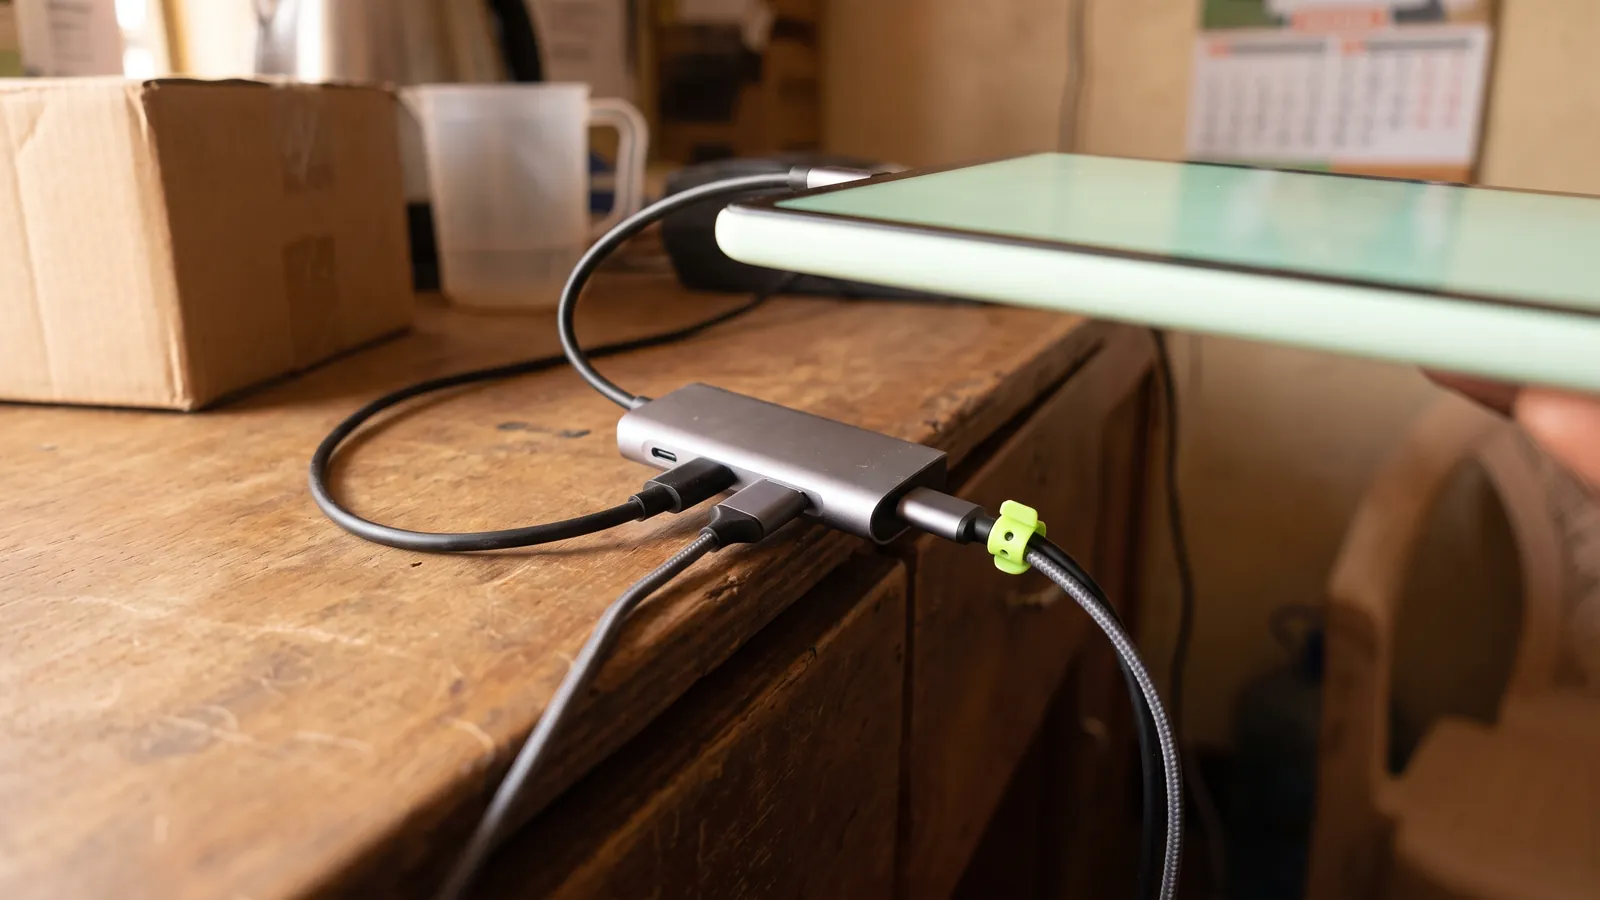
Plug the printer into mains power and switch it on. Most have a light that settles to steady once ready. Connect the USB cable from the printer to the adapter, and the adapter to the tablet. The tablet may show a notification that a USB device is connected; you can dismiss it.
If the tablet charges through its only port, you will need a small USB hub with power pass-through so the tablet can charge while the printer is connected. This is the single most common reason a till dies at four in the afternoon.
Step 3: Let the browser use the printer
A modern browser-based POS prints directly to a USB printer from Chrome on Android, without a print dialog, once you have allowed it. The first time you print, Chrome shows a list of USB devices and asks which one to use. Pick the printer and confirm. The permission is remembered for that site on that tablet, so it does not ask again.
Two things must be true for that prompt to appear:
- The POS must be open over a secure connection, which means the address starts with https. Any real POS does.
- The printer must be connected and switched on before you press print.
If the prompt lists no devices, unplug the adapter and plug it back in with the printer already on, then try again.
Step 4: Tell the POS the paper width
Somewhere in the POS settings there is a paper-width choice, 58mm or 80mm. Set it to match your printer, or receipts will either be cut off at the right edge or print in a narrow column. This is a per-device setting in most systems, because one shop can have a 58mm printer at one till and an 80mm at another.
Step 5: Test print
Ring up a small sale and print. Check three things on the paper: the shop name and phone number at the top, every line and the total, and a clean cut or tear line at the bottom. If it looks right, you are done. Tape the cable to the counter where it cannot be kicked.
When it does not print
Nothing happens. The printer is not powered, or the cable is in the wrong port. Check the light, then swap the cable end for end.
Prints, but garbled characters. The POS is sending a command set the printer does not understand. Check the printer's manual says ESC/POS; almost every thermal printer sold in Uganda does, and Sellio speaks only ESC/POS.
Prints only the first few lines. The paper width is set wider than the printer. Change 80mm to 58mm.
Prints, then the tablet stops charging. The tablet's only port is now used by the printer. Use a powered hub, as in step 2.
Worked yesterday, not today. The tablet was restarted and the permission is still there, but the printer was switched on after the app loaded. Reload the page with the printer on.
Prints from the laptop but not the tablet. Laptops go through the system print dialog and their own drivers. The tablet talks to the printer directly and needs the USB permission from step 3.
Printing from an iPad or iPhone
Apple devices do not allow a browser to talk to a USB printer directly, and a web app saved to the home screen on iOS cannot print at all. The workable route is to share the receipt as a PDF to a printer app or to the customer's phone. If your till must be an iPad, plan for that. An Android tablet is the simpler counter.
Receipts without a printer
Not every sale needs paper. A POS that can show the receipt on screen, send it as a PDF by WhatsApp, or simply not print for small sales saves paper and time. Ask customers; many would rather have a message than a slip. When the internet is down, though, paper is the only receipt that still works, which is one more reason to keep the printer on USB. There is more on that in Does a POS work without internet?.
How Sellio handles this
Sellio prints to any ESC/POS thermal printer, 58mm or 80mm, and on an Android tablet with Chrome it prints directly over USB with no print dialog once you have allowed it. The paper width is a per-device setting, so mixed printers across tills are fine. Receipts can carry your logo, a phone number and a scannable QR code. Each till prints when asked; pair the printer once on an Android tablet and that print is silent from then on. On a laptop it uses the normal print dialog; on an iPhone it shares the receipt as a PDF instead. Printing works offline, because the printer is on the cable, not the cloud. If you are still choosing a system, the checklist in How to choose a POS system for a shop in Uganda covers printing alongside everything else, and a free trial lets you test your own printer before paying anything.
Frequently asked questions
Which is better, a 58mm or an 80mm receipt printer?
58mm rolls are cheaper and the printers are smaller, which suits a small counter. 80mm gives a wider receipt with room for a logo and longer item names, which suits a supermarket or a bar with many lines per sale. Both use the same paper type, just different widths.
Can an Android tablet print to a USB receipt printer?
Yes. Most Android tablets support USB On-The-Go, so a printer plugs in through a USB-C or micro-USB adapter, and Chrome can be given permission to talk to it directly.
Do I need a Bluetooth printer for a tablet?
No. A USB connection is simpler, does not need pairing, and does not drop. Bluetooth is only worth it if the printer must sit away from the tablet.
What is ESC/POS?
ESC/POS is the common command language that almost every thermal receipt printer understands, whatever the brand. A POS that speaks ESC/POS works with whichever printer you find in town.
Why is my receipt printing blank?
The paper is in upside down. Thermal paper prints on one side only. Flip the roll so the paper feeds from underneath the roll towards the front of the printer.
Related
-
· 7 min read
How to choose a POS system for a shop in Uganda
A plain guide to choosing a point of sale for a Ugandan shop — what to check on offline selling, printers, stock, staff, pricing and support before you pay.
Read → -
· 6 min read
Does a POS work without internet? Offline POS explained
What an offline POS can and cannot do when the data drops, how sales sync afterwards, and what to check before trusting one in a Ugandan shop.
Read → -
· 6 min read
How to count the cash drawer at closing
A closing routine for a shop's cash drawer — the float, expected cash, the count, the variance, and what to do when it does not balance. With a checklist.
Read →